
Now that your threatER Enforcer is connected to the portal, it’s time to configure the system settings to align with your network environment. This step ensures that your Enforcer is fully optimized for performance, security, and integration into your existing infrastructure. Proper system configuration is key to ensuring that your Enforcer functions correctly and is prepared to handle your network traffic securely.
Log into the Enforce Portal
In a new browser tab or window, log into the threatER portal using your admin credentials. The threatER Portal is located at https://portal.threater.com.
Assign Subscriptions to Your Enforcer
You must have a license subscription for every Enforcer deployed through threatER. This allows the Enforce software to connect to and sync with the threatER Portal.
Click on Enforce in the left menu, then select Subscriptions from the tabs at the top of the page.
You will see a list of your Enforcers along with a dropdown that will allow you to apply a subscription to each Enforcer.
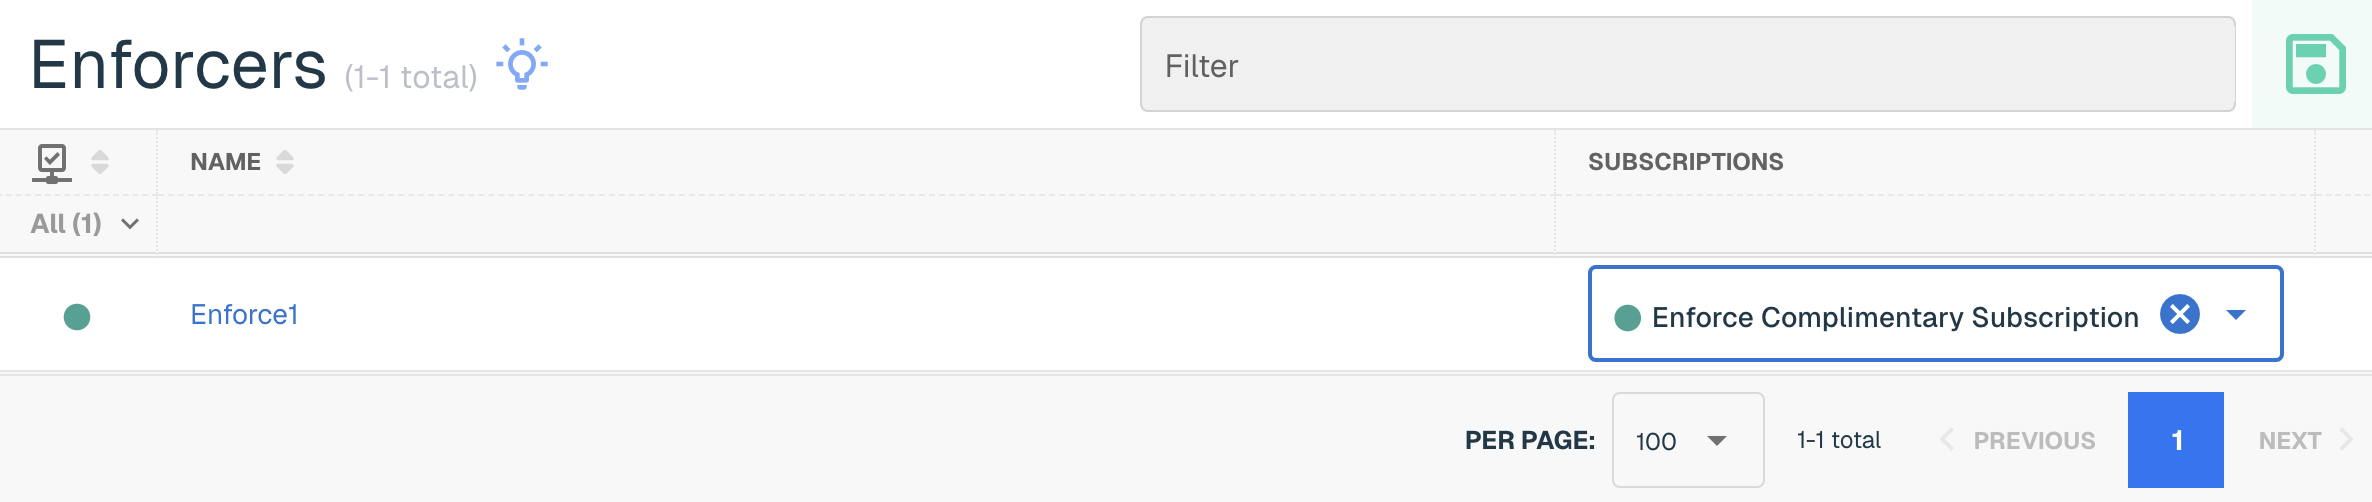
Select the subscription in the dropdown associated with the Enforcer to assign it. Finally, click on the green Save button to complete the assignment. It may take a few minutes for the license to fully propagate—now is a great time to grab another cup of coffee!
Confirm Enforcer Connection
To confirm that your Enforcer is connecting to the threatER Portal as expected, click on Enforce in the left menu and then select Enforcers. From here, you should see your newly registered Enforcer with a current last connection time. The connection from the Enforcer to the threatER Portal is refreshed once per minute.
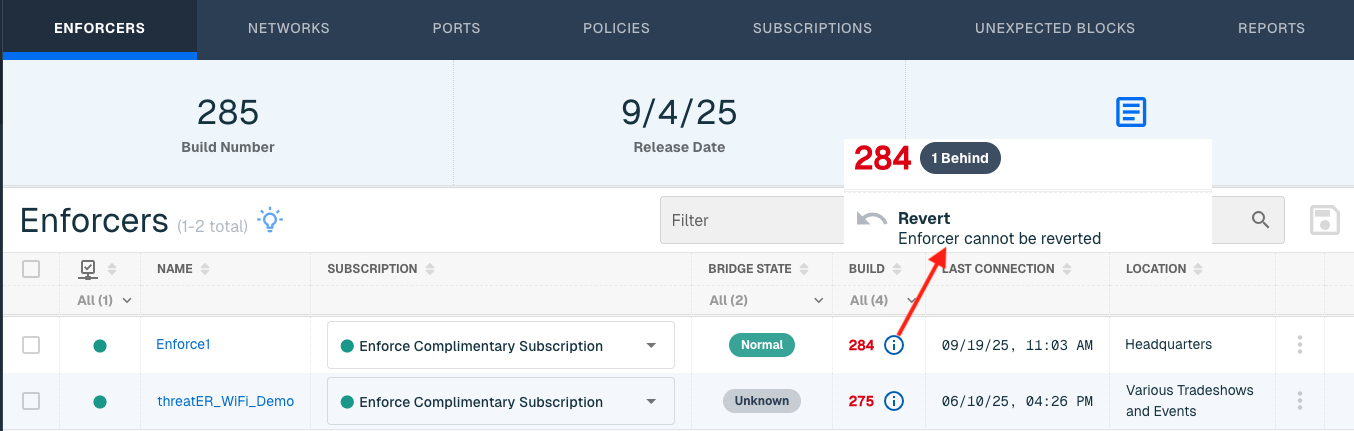
💡 Software out of date? When you assign a subscription to your Enforcer for the first time, if the Enforce software version is not the latest version available, the software should immediately automatically update itself. You can also manually trigger an update by clicking the three dots (⋮) and click Update Now. Learn more about software updates here.
Configure Date & Time
In the threatER portal, navigate to the Enforce section, select the Enforcer hyperlinked name and go to Settings under Configurations.
On the Timezone field, change the time zone from UTC to the time zone for the location where the Enforcer will be deployed.

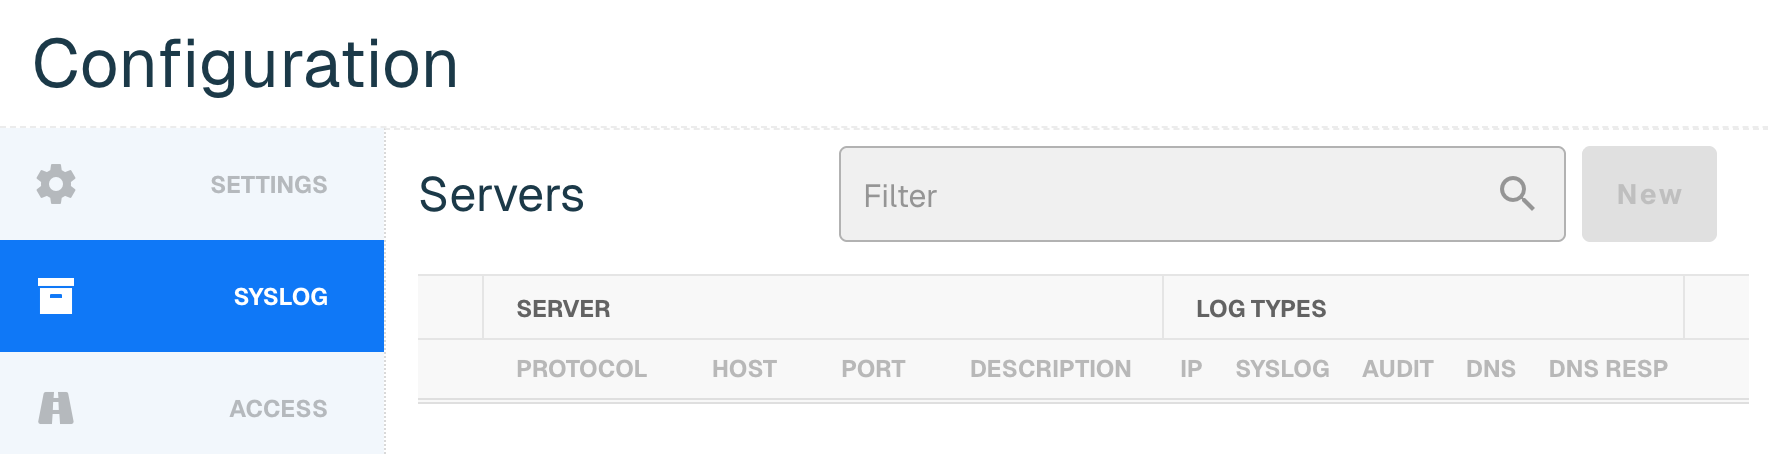
Set Up Syslog Export
Syslog exports are an industry-standard and time-proven way of exporting data in a concise, standards-based manner (i.e., RFC-5424). This ensures seamless integration alongside any number of external tools, including popular security information and event management (SIEM) tools, such as Splunk and IBM QRadar, as well as popular data analytics tools like Gravwell, and even full open-source tools like syslog-ng.
While logs are stored on the device in local memory, they are not persistent, and will wrap within hours or days depending on your traffic.
For more information on utilizing this feature, please see our documentation on Enforce Syslog Export Configuration and Formats.
Update NTP Settings
Enforce uses an NTP server so that the clock on your Enforcer is properly synchronized. By default, the software leverages the time.google.com NTP server.
If desired, you have the option to add your own NTP server by going to NTP and then New, adding a valid IP or domain host and selecting Create. If you don't have your own NTP server, we recommend using a public NTP such as time.google.com or pool.ntp.org (for your region).
Confirmation of the sync will be indicated by a green clock alert icon next to NTP Servers title. It might take a few minutes for the server to sync with the Enforcer.

Enable Observed Resolvers
Enforce will track all unique DNS connections and report them to Portal when this feature is enabled. This functionality is valuable for identifying devices within the network that may have incorrect DNS settings due to misconfiguration or running malicious software that is making unauthorized DNS requests.
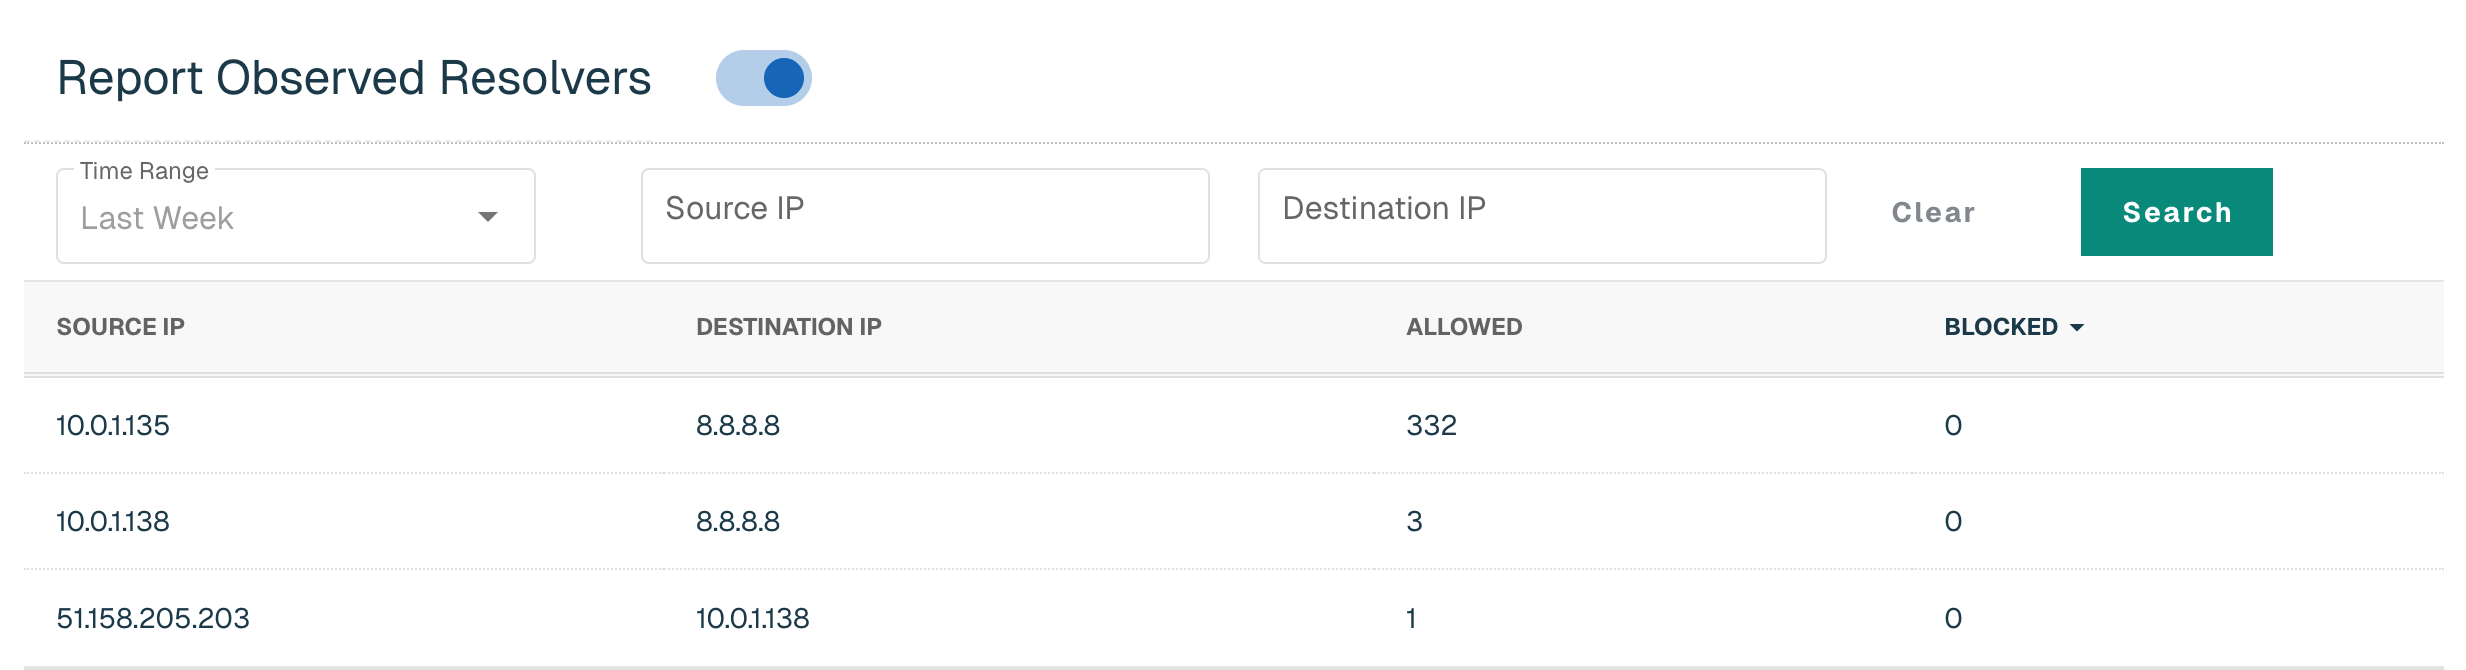
If you wish to track this for this Enforcer, simply enable the Report Observed Resolvers toggle and click Save.
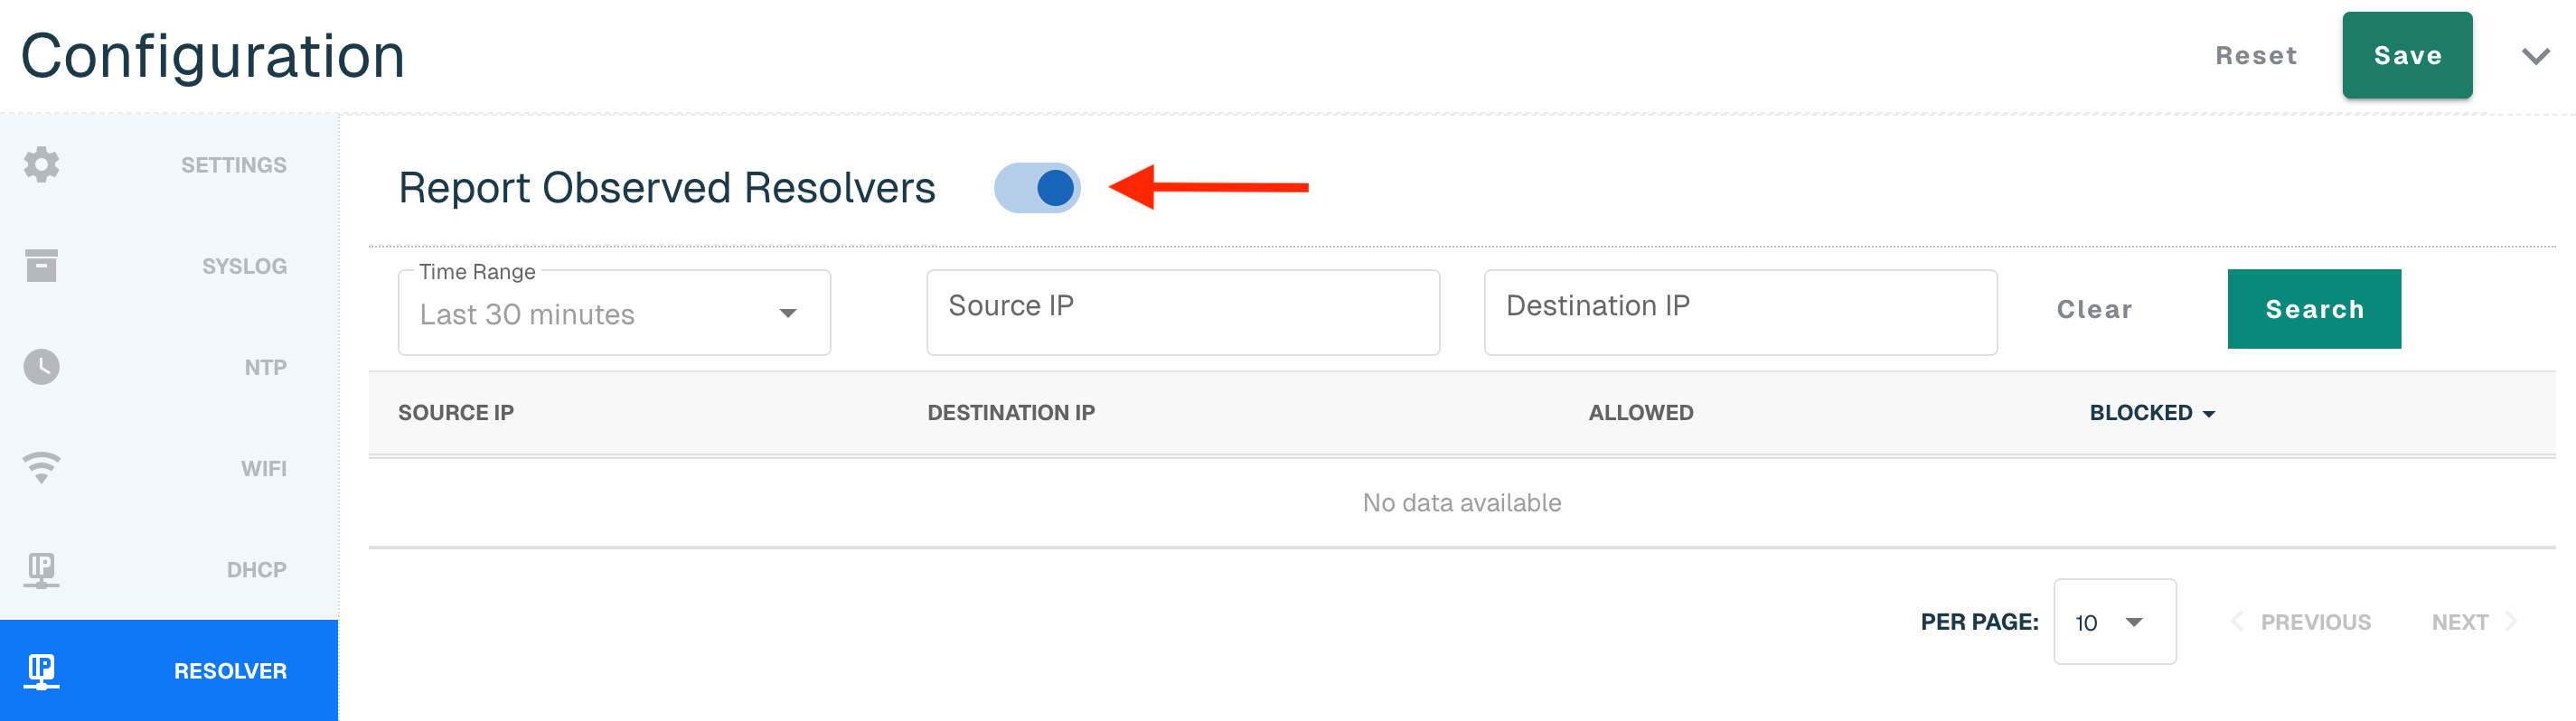
Data will display once there is data to report back. Users can search by Source and Destination IP and select one of the following time ranges:
-
Last 30 minutes (default)
-
Last hour
-
Yesterday
-
Last Week
Next Step
Once your system settings are configured, your Enforcer is ready to be customized further with threat-blocking rules and policies. You’re now prepared to define how the Enforcer will handle incoming traffic.