
In this step, you will connect your Enforcer to the threatER Portal. This allows you to manage, monitor, and update your Enforcer remotely. Activating your Enforcer in the portal is essential to remotely manage settings and configurations, monitor real-time performance and traffic data, receive threat intelligence updates and perform software updates.
We recommend configuring the Enforcer before placing it in-line in its final network infrastructure location. It is often easier and preferable to configure the Enforcer at your desk and install it in-line once it’s fully configured.
Before activating and configuring Enforce for deployment, please review our threatER Firewall and VPN Settings page to ensure your threatER software is able to connect to our infrastructure and access OS updates from Ubuntu.
Configure the Admin (Management) Interface
With your Enforcer powered on and the admin port connected to your network, you'll want to access the command line console to configure the admin (management) interface. To do this, you will need to either connect a laptop to the console port of the appliance running the Enforce software or connect a VGA monitor and USB keyboard (depending on your hardware model). Alternatively, you can connect a laptop to the admin port and set your laptop’s IP to be on the 192.168.1.0/24 network, then connect to https://192.168.1.1 in a web browser.
When connecting a laptop to the console port, you can use Putty or a text terminal or terminal emulation program. The port settings are:
-
Baud: 38400
-
Data Bits: 8
-
Parity: None
-
Stop Bits: 1
The CLI Console is a low-level control program that can be used to configure settings, including the Network and User configurations. It can be accessed while the system is in a normal operational state.
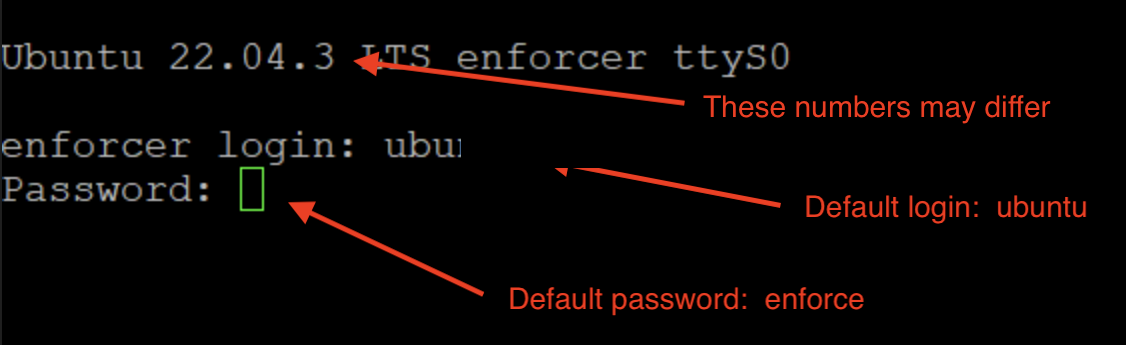
You’ll see a login screen that will generally resemble the following screen either via console port access or VGA+keyboard access. Regardless of your input paradigm, enter the following credentials:
-
default login: ubuntu
-
default password: enforce
Note that if the login and passwords shown above do not work, please reach out to our Customer Success team and we will be happy to provide assistance.
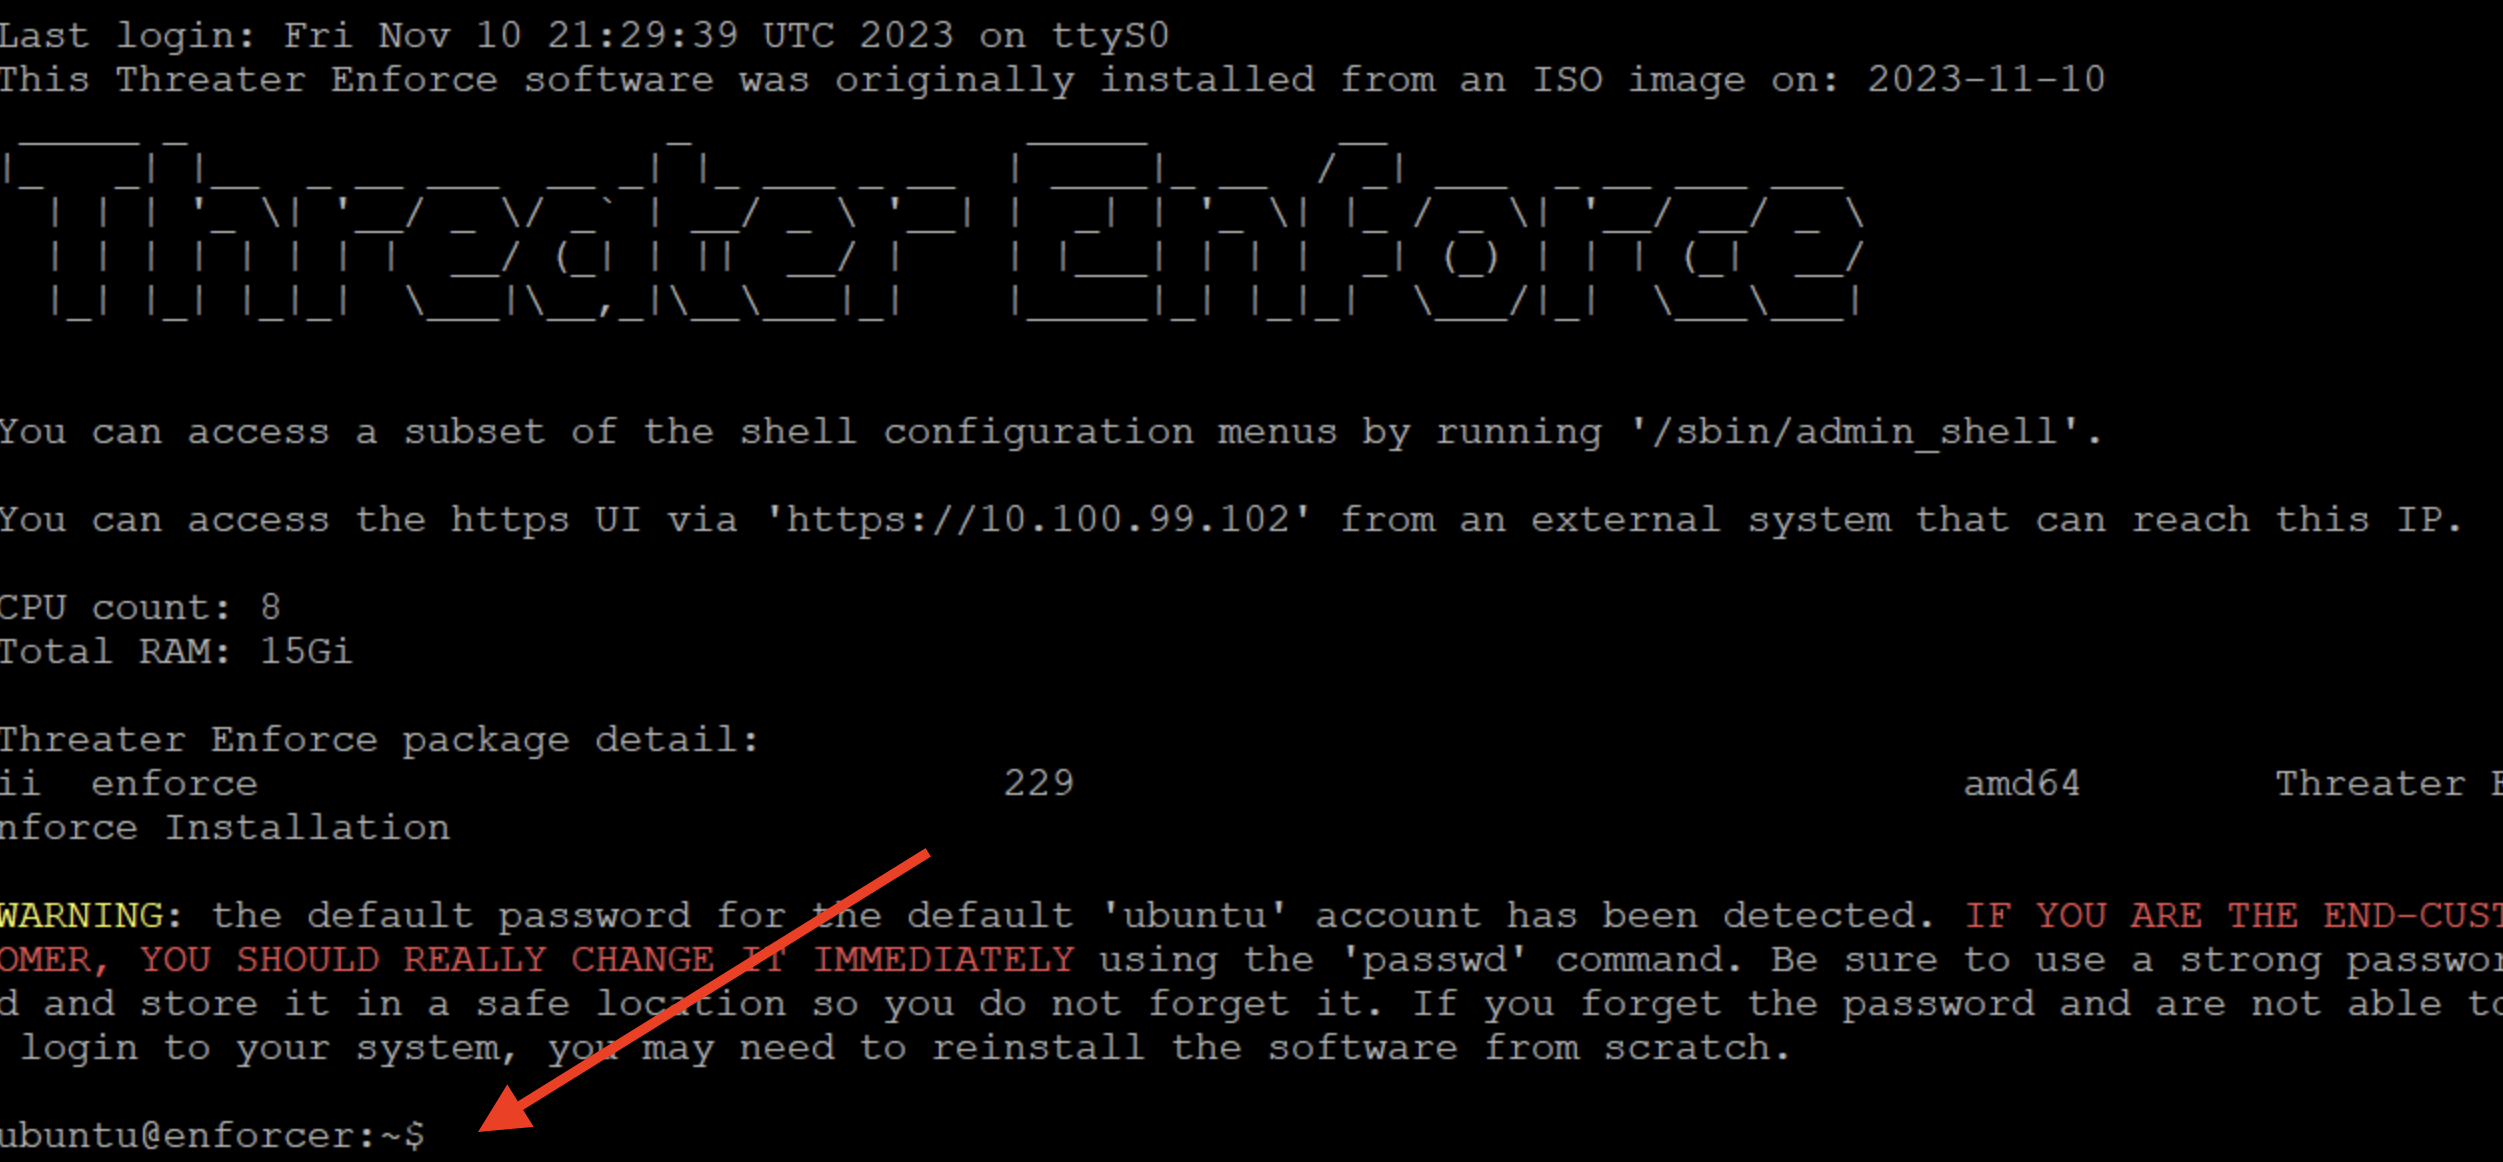
After successful login, you will be directed to a shell prompt, where you can take the following steps:
-
Enter the command "/sbin/admin_shell" at the prompt to access the CLI menu:
-
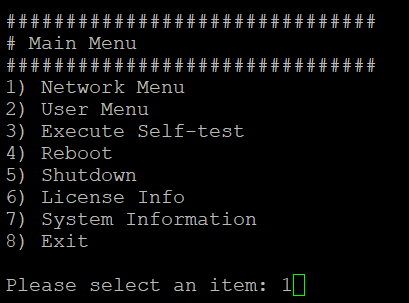
From the Main Menu, to connect the admin interface to the internet, select Network Menu.
-
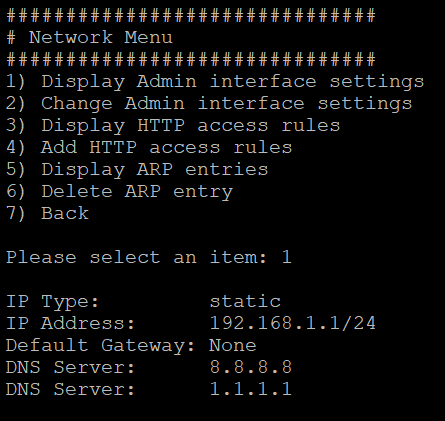
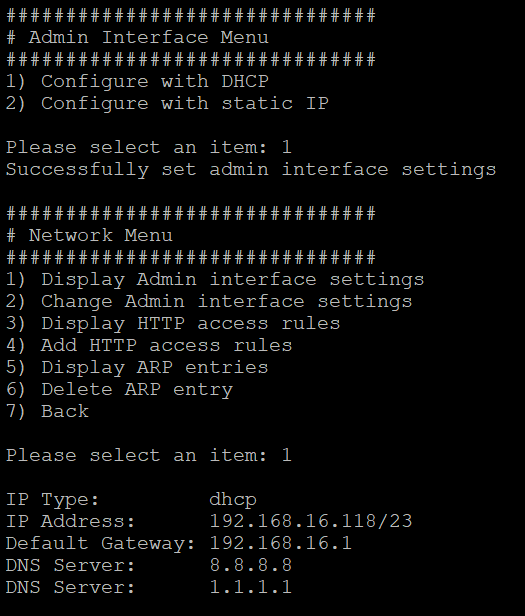
From the Network Menu, you can view the default admin interface settings by selecting option 1.
-
From the Network Menu, to connect the admin interface to the internet, select change admin interface settings.
-
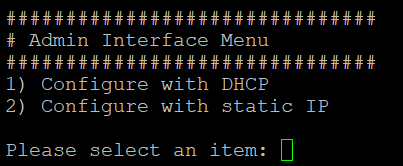
From the Admin Interface Menu, select option 1 to configure with DHCP or select option 2 to configure with static IP.
-
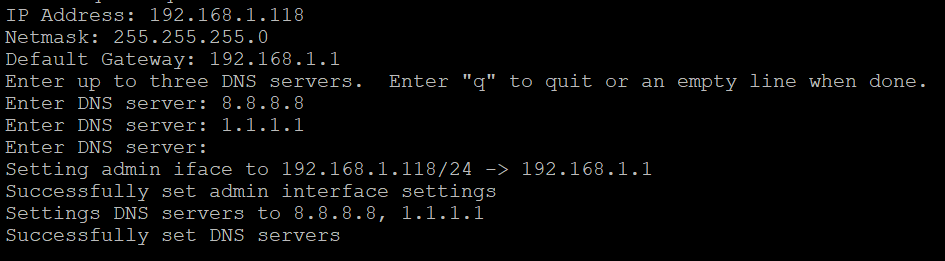
Most customers will choose to configure with static IP. The Static IP configuration requires 4 entries: IP Address for the Enforcer, Netmask, Default Gateway IP, DNS Server IP. NOTE: When configuring a static IP address it is now required to use a non-routable IP address from the following RFC-compliant non-routable pools only:
-
10.0.0.0/8
-
172.16.0.0/12
-
192.168.0.0/16
-
-
If you wish to use DHCP, select Configure with DHCP to obtain a new DHCP Lease. Upon return to the main menu, select option 1 to display the admin interface settings, which will show the IP Address and Default Gateway obtained via DHCP.
Once the admin interface settings have been updated, you should be able to access the software UI from a browser on a computer connected to the same subnet. At this time you may return to the Main Menu by selecting option 7 to go back, and then choose option 8 to exit.
Activate Enforcer
After following the guides for your specific deployment path, threatER should be up and running on your local network.
In the address bar of your browser, using https, enter the IP address assigned to the admin interface (e.g. https://192.168.1.199).
💡Getting a certificate error? If you receive a message stating “your connection is not secure”, you will need to add an exception. Go to advanced settings, or click on a link that will allow you to connect after accepting the warning (depending on your browser).
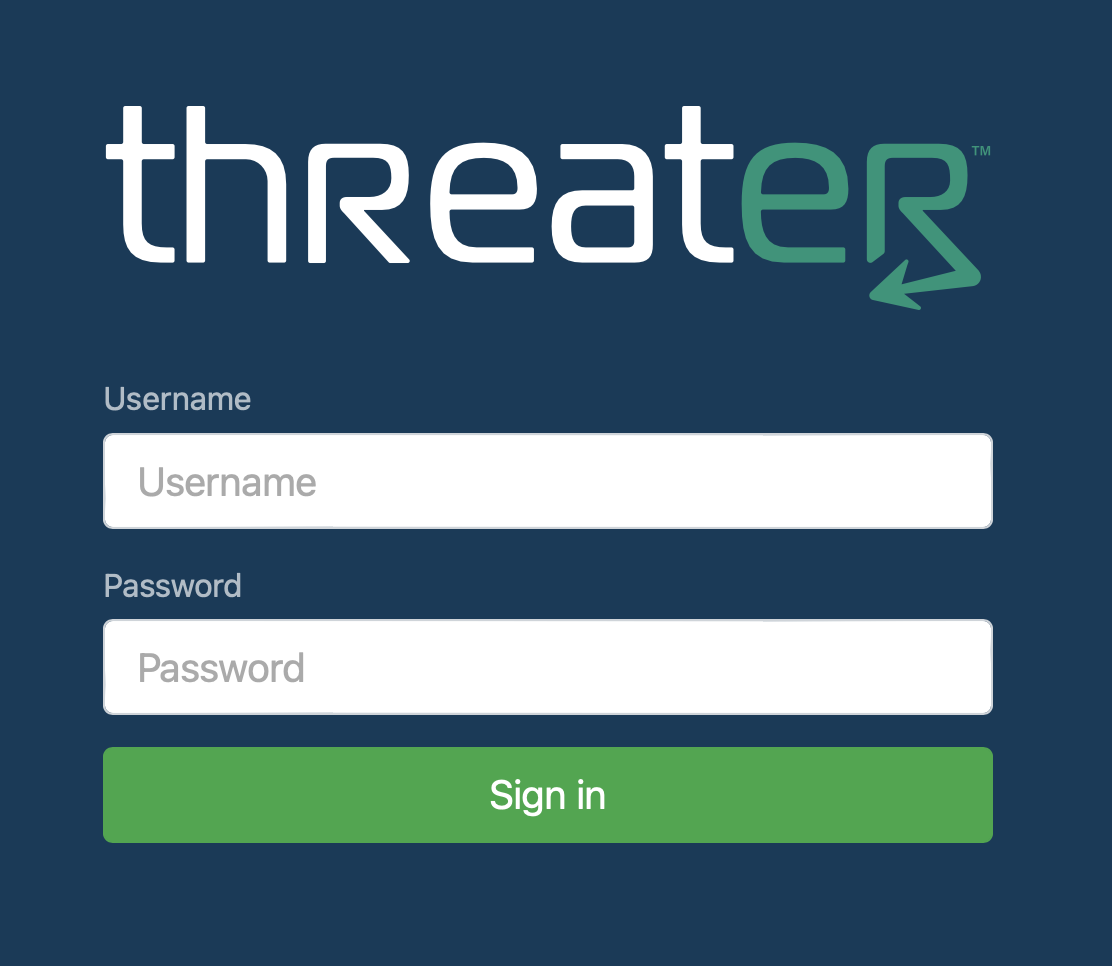
You should be directed to the Enforce login screen. The default credentials are:
-
Username: admin
-
Password: admin
After clicking the Sign In button, read and accept the EULA terms by clicking Agree.

At this point, you should be prompted to activate your software by registering it with the threatER Portal. Enter your threatER Portal admin credentials, name your device, and click the Submit button.
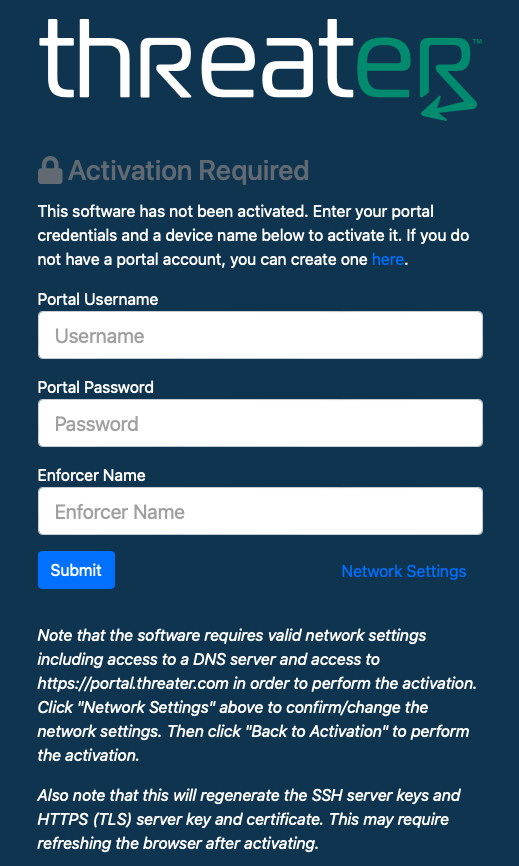
Don’t have your threatER Portal admin credentials? You should have received an email ("threatER Account Activation") notifying you that your account has been created and allowing you to create your password.
If you did not receive the email, or you received a message that the link had expired by the time you clicked to create your password, please contact our Customer Success team for further assistance.
Next Step
Once your Enforcer is activated in the Portal, it’s time to review your Enforcer settings and change the admin and console passwords.