
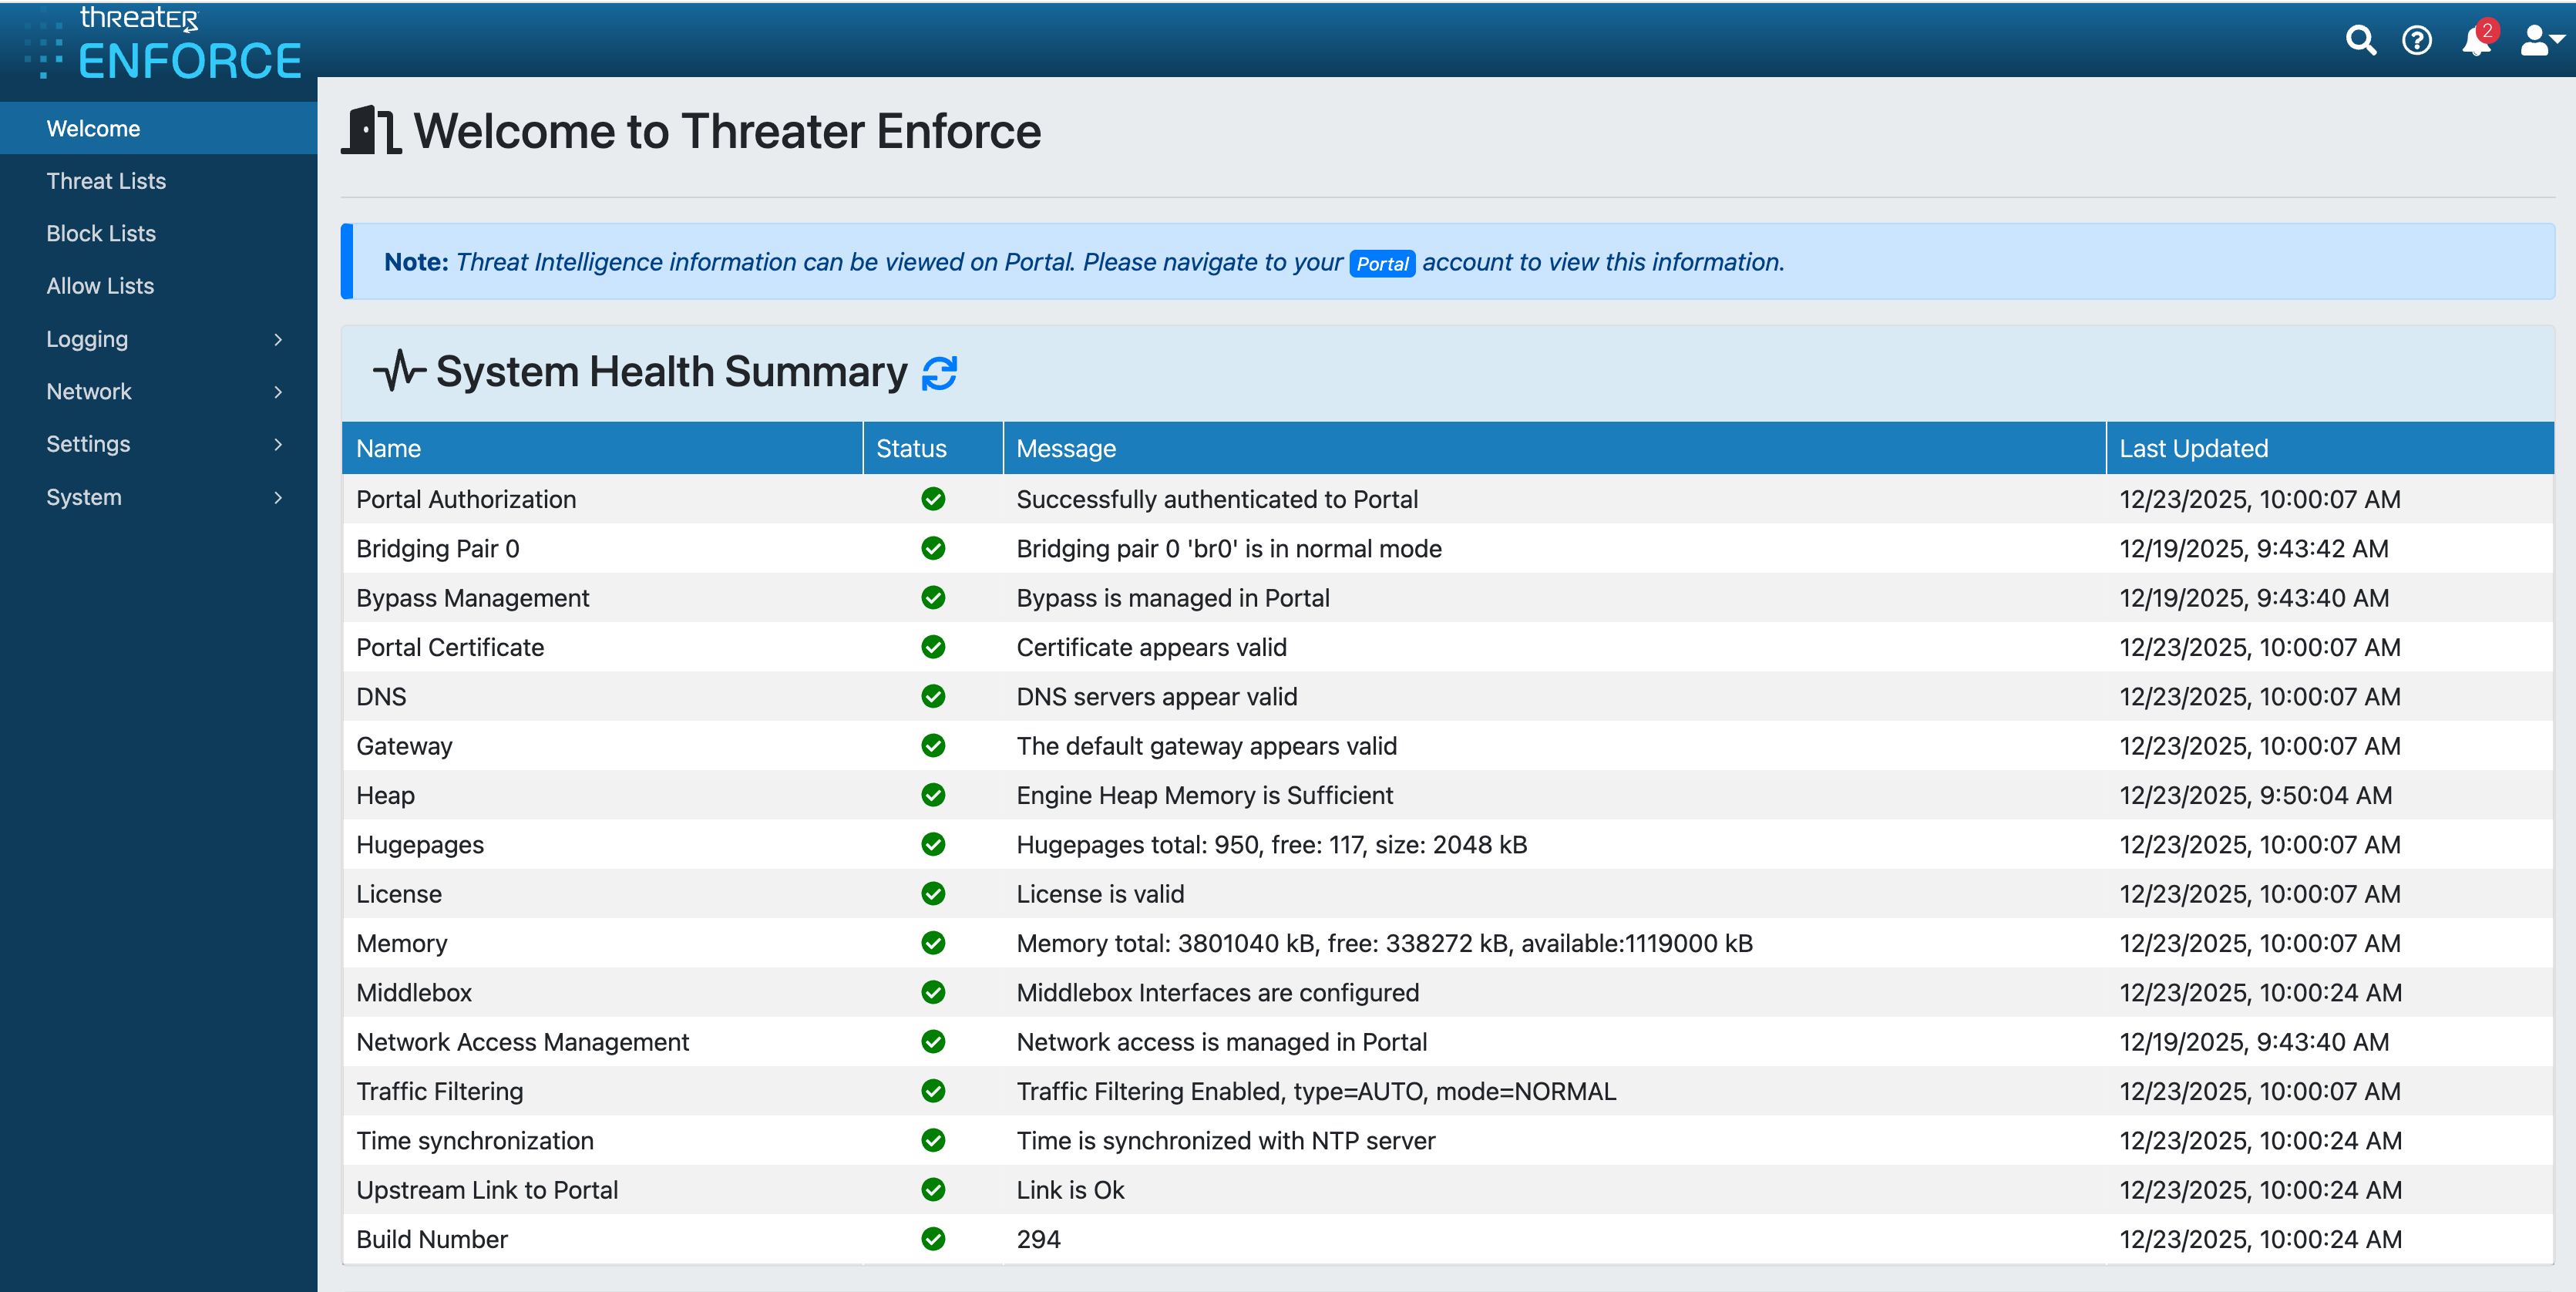
After activating your Enforcer in the threatER Portal and logging into the Enforce software UI, you should now see the threatER Enforce welcome page with the System Health Summary.
💡 Seeing a warning banner? You may see a warning banner at the top of the page saying that Enforce does not have a valid license. After assigning the subscription to the Enforcer in the threatER Portal (in the next step), the warning banner will disappear shortly thereafter.
Most of the Enforce settings are managed in the threatER Portal, which we'll be setting up in the next step. Before we move to the threatER Portal, there are a few items to review in the Enforce UI first.
Confirm Bridging Interface
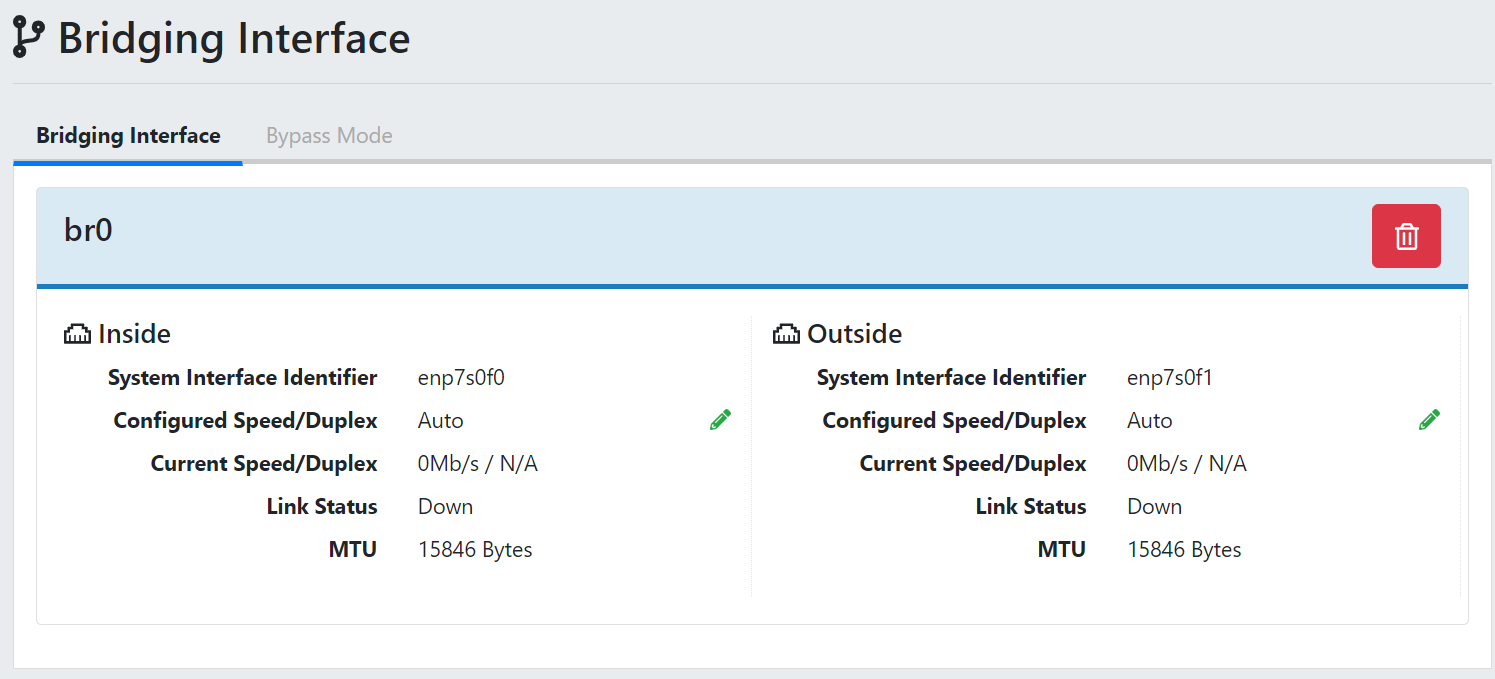
If you purchased hardware from threatER, your Enforcer has the software pre-installed and the bridging interface should be pre-configured. To confirm, click on Network and then Bridging Interface in the left menu. On the Bridging Interface page, confirm that the bridge pair is showing.
💡 Links Down? Note the link status will show as "Down" until you place the Enforcer inline by connecting the outside and inside ports.
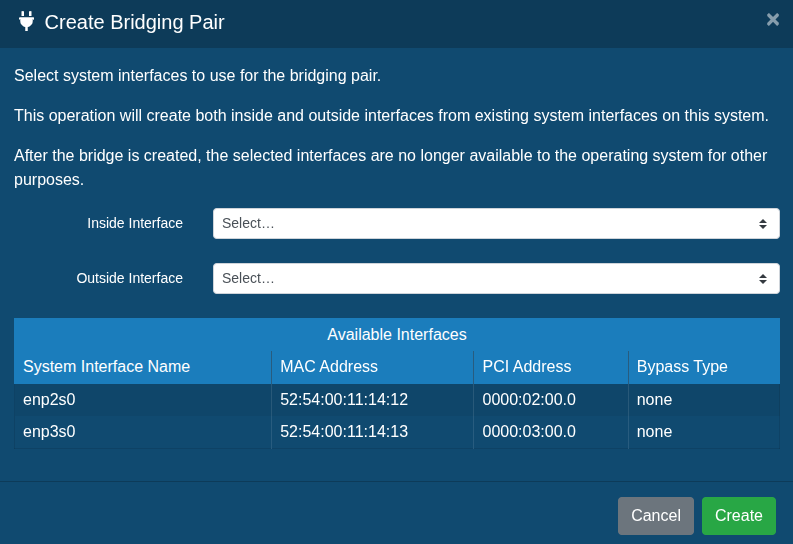
If the Bridging Interface is not present, click the green + icon to add the interface.

Select the corresponding bridge pair for the inside and outside interface and then click Create.
Change Your Enforce UI Password
To ensure security, you should change the admin user's default password to a password that is more secure. To do this, click on System in the left menu and select Users. On the Users page, click the green pencil icon to the right of the admin user profile. Create and confirm the new password. You will need to add an email address before saving the changes (e.g. an IT listserv email or other as you desire). The username is still admin unless changed.

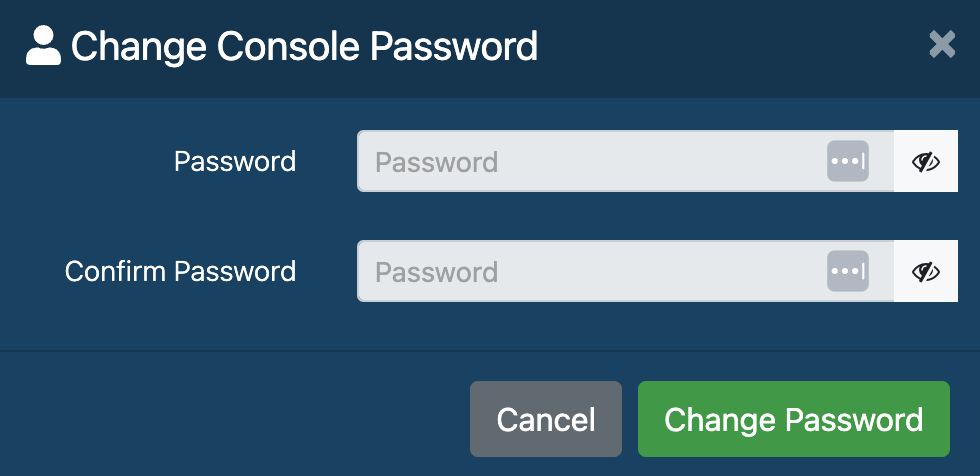
Change Your Console Password
To ensure security, you should also change the default console password to a password that is more secure. On the Users page, click the blue Change Console Password button. Enter a new password and then confirm the password. Click Change Password to submit your changes.
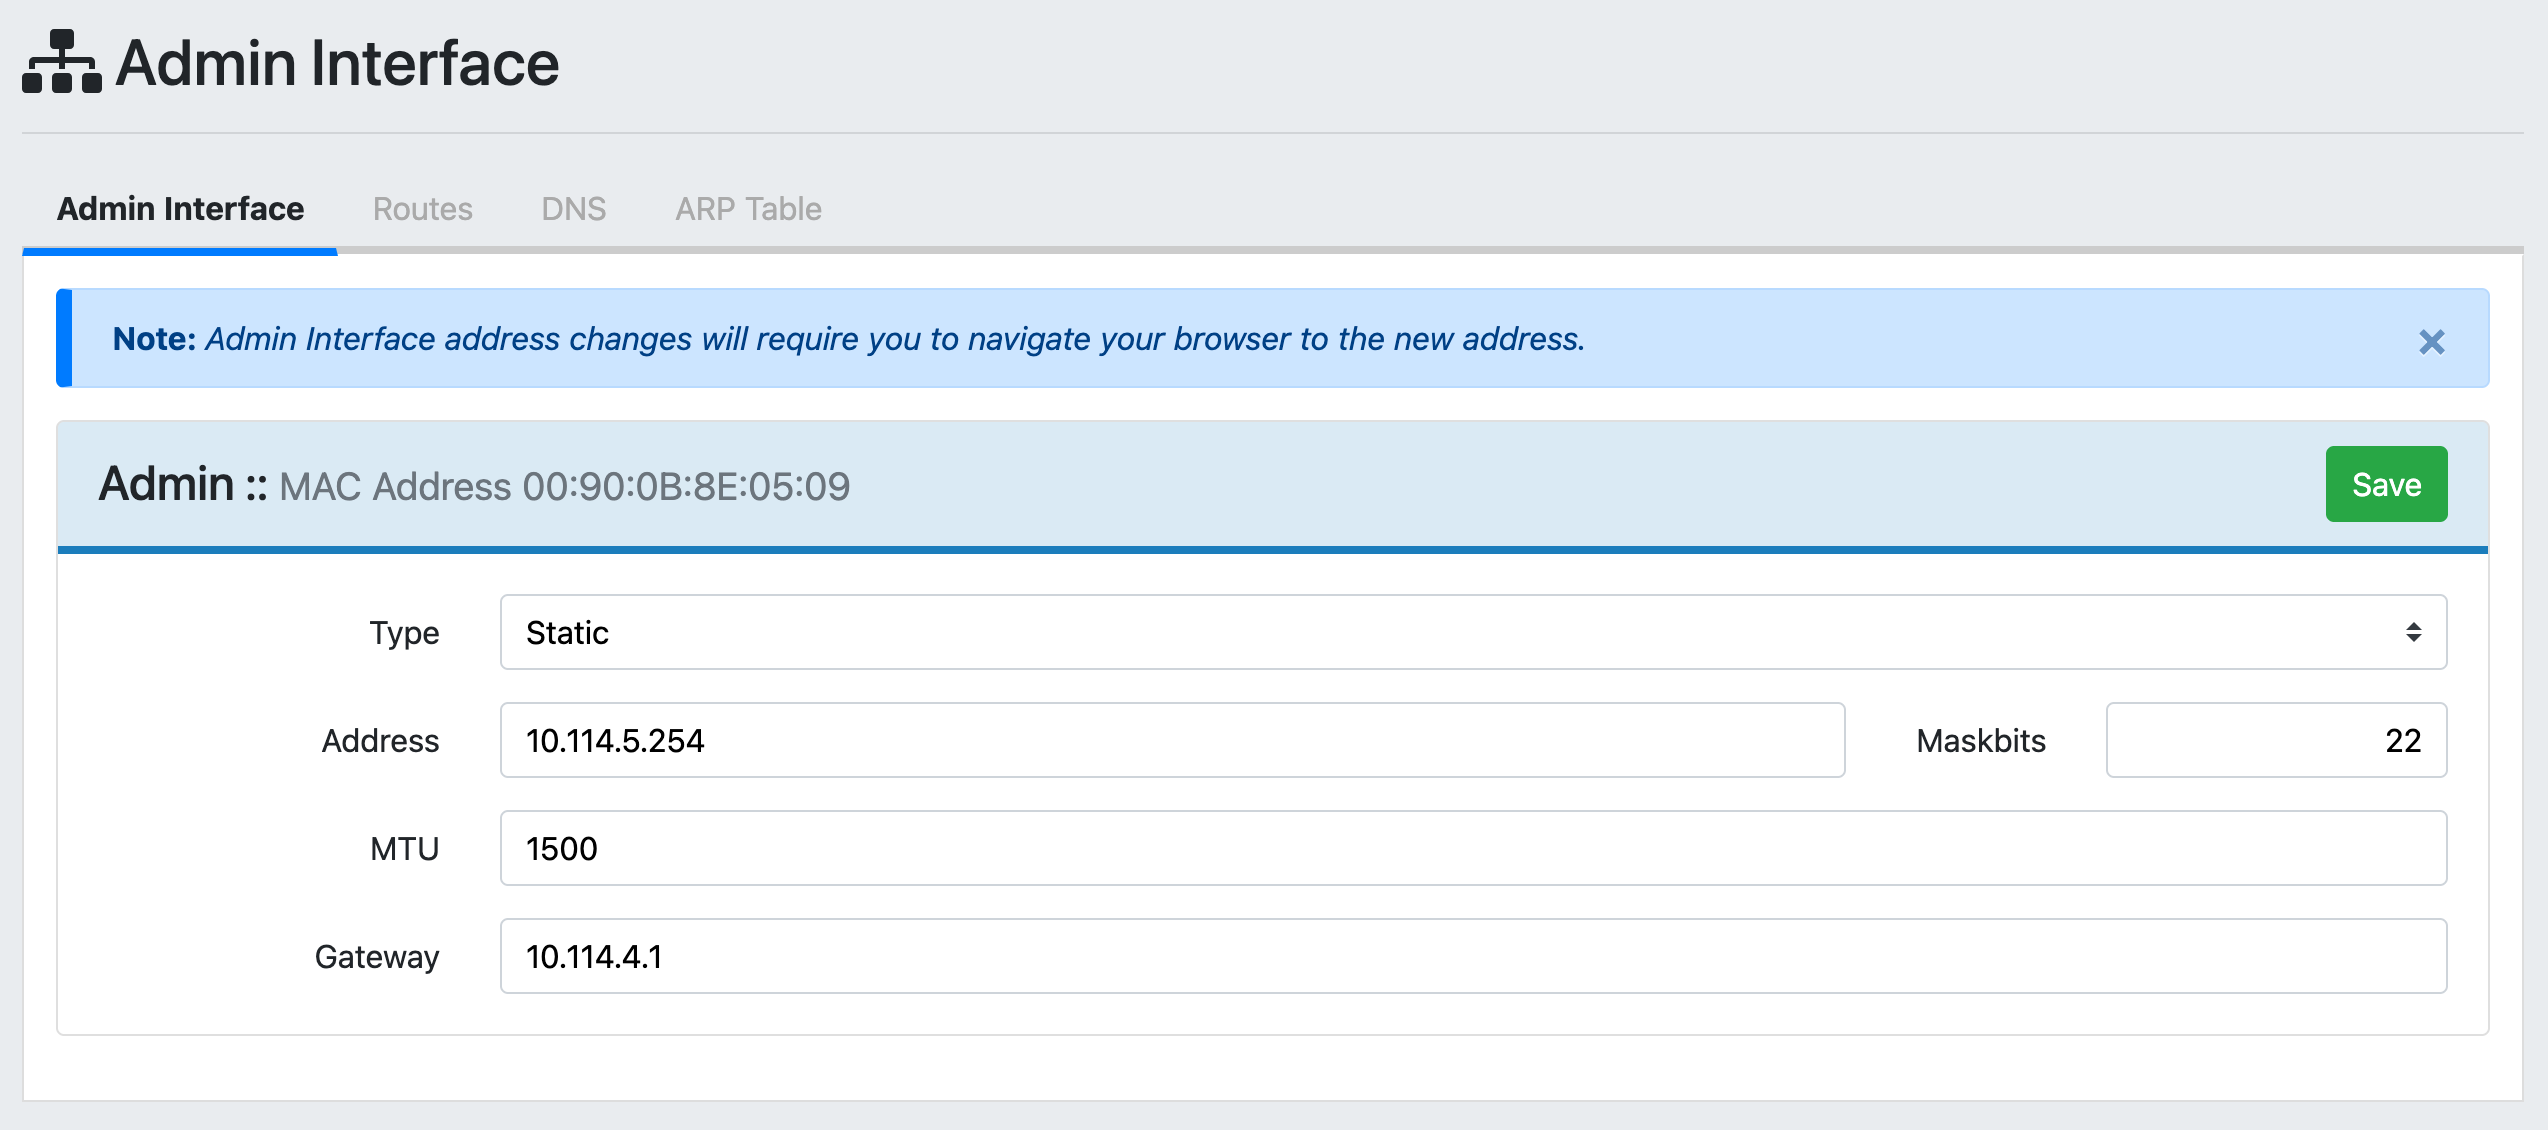
Confirm Admin Interface and DNS Settings
During the initial configuration in the console you configured the IP address for the admin interface and set your DNS. This is also managed within the Enforce UI, so you have the option to review and change these settings if needed. Simply go to Network and then Admin Interface in the left menu to adjust the admin interface settings as desired.
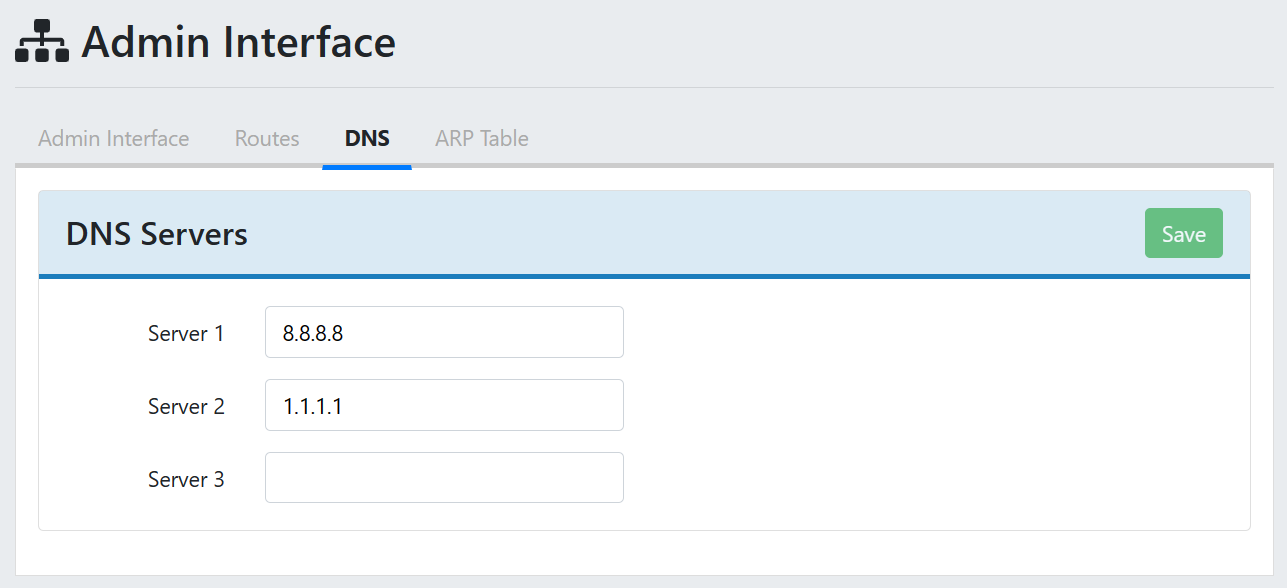
You can click on the DNS tab at the top of the page to view and change your DNS settings. By default, threatER uses open source DNS. If desired, you may update the DNS server addresses to use internal DNS. You can edit the entries and add up to 3 DNS servers, and threatER recommends leaving at least one open-source DNS in the list in case your internal DNS servers experience a problem.
Review Logs
The feature you may use the most in the Enforcer UI is Internal Logs. Navigate to Logging and then to Internal Logs to access packet, domain, system and audit logs. This is where you'll see a record of all the traffic flowing through your network.
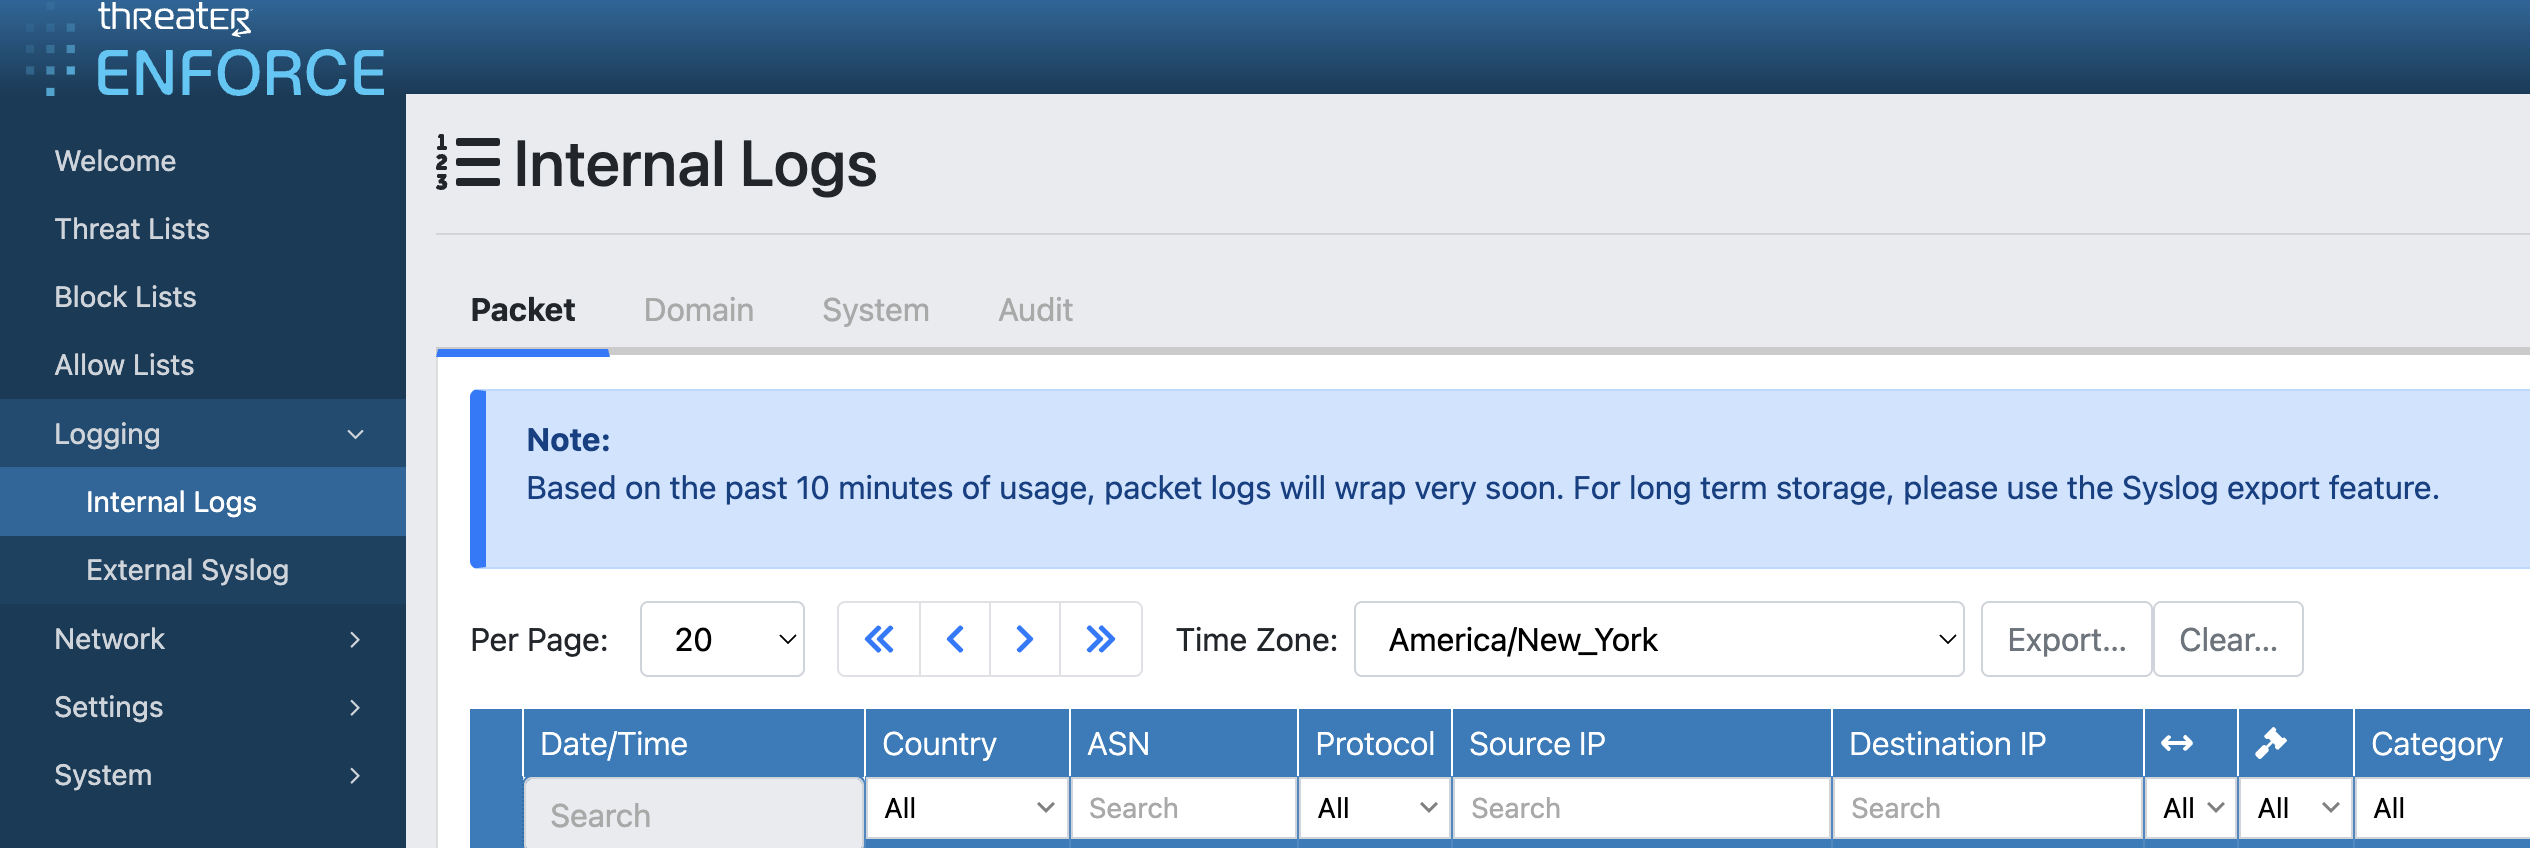
The Packet and Domain logs will show information on any IP or DNS requests that are allowed or blocked according to policy configurations. The System logs display internal operating messages of the Enforcer and administer command history. The Audit logs display time, module and username of any internal administrative and system actions within the Enforcer.
We'll be looking at your traffic in more detail in later steps. You won't see much/any traffic data because you just connected the Enforcer. You will see some logs on the System and Audit tabs documenting some of your recent activity.
💡 Seeing critical errors in your system logs? Don't worry if you see critical errors! Sometimes it just reflects a blip in the network, and the software will automatically retry. The primary errors to be concerned about are repeating and consistent errors.
Next Step
Once your Enforcer is set up, it’s time to connect to the Portal so you can manage all your settings and threat posture from the cloud. From here on, you won’t need to log into the Enforcer again unless you need to change device-level settings or check error logs (if you haven’t set up syslog exports).