
EnforceDNS supports multiple download and installation methods for Windows, giving you the flexibility to choose the approach that best fits your environment. Whether you're deploying to a single device or managing installation at scale, we’ve made it easy to get started.
The Agent currently uses branding for HYAS Protect, including the app icon in the System Tray. This will be updated in a future release.
Installation via the EnforceDNS Portal
Step 1: Download the Agent
1.1 Log into the EnforceDNS Portal
1.2 Navigate to Settings (gear icon)
1.3 Select Organization Settings
1.4 Choose EnforceDNS Agent from the left side menu
1.5 From the EnforceDNS Agent dashboard, select the Install tab
1.6 Click the Windows download button to begin the download
Step 2: Install the Agent - Interactive
2.1 Navigate to your downloads folder and double click the HYAS-Protect-latest.msi file (with “latest” being the most recent version number).
2.2 Click Next
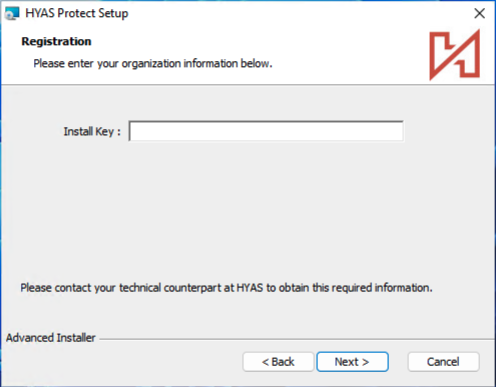
2.3 Paste your Install Key and click Next
2.3.1 To obtain your Install Key, navigate to the EnforceDNS Portal> Settings> Organization Settings> EnforceDNS Agent> Install. Copy your Install Key and paste it here
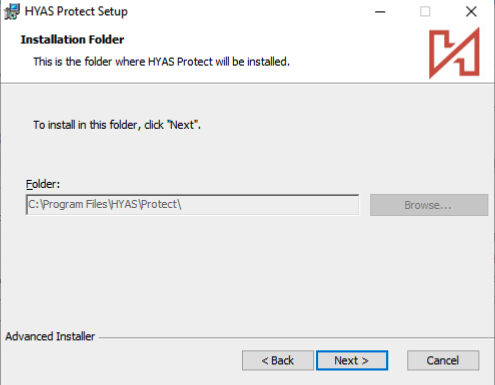
2.4 Confirm installation location by selecting Next
2.5 Click Install to begin the installation process
2.6 Select Yes from the User Account Control popup
2.7 Finally, click on Finish. The EnforceDNS Agent is now protecting your machine!
By default, the Agent’s UI will not launch. However, the service will still be running and actively protecting your machine whether the UI is running or not.
Step 3: Silent Install (Alternative to Step 2)
A ‘silent’ installation means that the application is installed or deployed without any input or interaction from the end user. To silently install the EnforceDNS Agent, follow the steps below.
3.1 To get the latest version of the Agent, use the following command in Windows PowerShell:
|
PowerShell
|
3.2 Copy the following installation command:
|
PowerShell
|
3.3 Replace the client_id, noted above as xxxxxxxx-xxxx-xxxx-xxxx-xxxxxxxxxxxx with your client ID
3.3.1 To obtain your client_id, navigate to the EnforceDNS Portal> Settings> Organization Settings> EnforceDNS Agent> Install. Copy the Install Key, which is your client_id
3.4 In some cases, it may be preferable to hide the EnforceDNS Agent from the Add or Remove Programs list in order to make it more difficult for end users to detect or tamper with the Agent. To do so, set ARPSYSTEMCOMPONENT=1 in the installation command.
3.5 Run the installation command from Windows PowerShell.
If the silent installation does not complete successfully, check the following:
-
The file “HYAS-Protect-latest.msi” is in the Downloads folder.
-
The client_id field contains the Install Key copied from the EnforceDNS Portal.
-
Windows PowerShell has “Elevated” (Administrator) privileges. The title bar on PowerShell will explicitly say “Administrator: Windows PowerShell”.
Post Deployment Validation
After deploying the EnforceDNS Agent on Windows it’s important to verify that the installation was successful and the Agent is functioning as expected. Use the checklist below to confirm that the Agent is actively protecting the device.
- Agent is running on local machine:
-
Search for “Services” in the search bar and open it.
-
Search for “HYAS Protect”
-
If the Status notes “Running” next to HYAS Protect, the Agent is running on your machine.
- Device appears in the EnforceDNS Portal:
-
Navigate to https://apps.threater.com> Settings> Organization Settings> EnforceDNS Agent> Manage
-
Locate the Agent in the list. If it appears, the installation was successful.
If both are true then the installation was successful, and the device is now protected by EnforceDNS.